

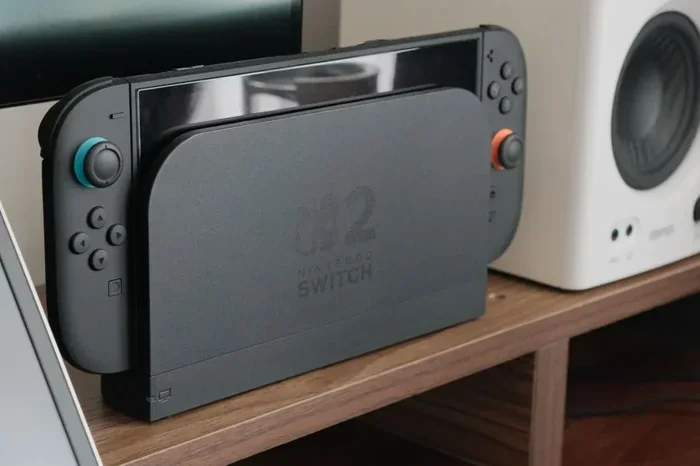
The Nintendo Switch 2 Accessibility Features give every player a way to customize controls, visuals, and audio. This guide walks you through all 7 tools, from button mapping to screen readers, with simple step-by-step instructions. You’ll leave ready to set up a personalized, inclusive gaming setup.
The Nintendo Switch 2 Accessibility Features open the door to gaming for everyone. Whether you need help with vision, hearing, or motor control, these tools make the console feel like it was built just for you. I’ll walk you through all seven tools and show you exactly how to set them up.
Setting up accessibility options takes only a few minutes. You’ll find everything in System Settings > Accessibility. Once you adjust a few sliders, your gaming experience becomes smoother, more comfortable, and truly personal. Let’s dive in and explore each feature.
Key Takeaways
- Full customization: Nintendo Switch 2 Accessibility Features let you remap buttons, adjust motion sensitivity, and tailor touch controls.
- Visual and hearing support: Color correction, screen magnification, closed captions, and audio descriptions make games accessible.
- Screen reader and audio cues: Built-in speech and sound cues help visually impaired players navigate menus.
- Single Joy-Con flexibility: You can use one Joy-Con as a full controller with assistive touch and grip options.
- Quick setup: All tools live in System Settings > Accessibility, so you can configure them in minutes.
- Inclusive gaming: These features open the door to players of all abilities, making Nintendo Switch 2 a truly inclusive platform.
📑 Table of Contents
What Are the Nintendo Switch 2 Accessibility Features?
Nintendo built these tools with real players in mind. The goal is simple: remove barriers and let everyone enjoy games. From button remapping to audio cues, the options cover a wide range of needs. The console treats accessibility as a core part of the experience, not an afterthought. You get seven main tools, and each one is easy to find and use.
The Nintendo Switch 2 Accessibility Features live in one convenient menu. You can toggle them on or off, adjust levels, and save your presets. This means you can switch between different setups for different games or moods. The system remembers your choices, so you never have to start from scratch.
The 7 Essential Accessibility Tools for Nintendo Switch 2
Here’s a quick look at all seven tools. Each one solves a specific challenge, and they work great together.
| Tool | What It Does | Best For |
|---|---|---|
| Button Mapping | Remaps any button to any other input | Motor difficulties, custom grips |
| Motion and Gyro Controls | Adjusts sensitivity or turns off motion | Tremors, motion sensitivity |
| Screen Reader | Reads menu text aloud | Visual impairment |
| Visual Adjustments | Color correction, magnification, contrast | Color blindness, low vision |
| Closed Captions & Audio Descriptions | Displays dialogue and describes key sounds | Hearing impairment |
| Custom Touch Controls | Resizes and repositions touch buttons | Motor challenges, small screens |
| Single Joy-Con Flexibility | Enables full controller functions with one Joy-Con | Limited hand mobility |
These tools cover assistive technology for many players. You can mix and match them to create a setup that fits your life. The Nintendo Switch 2 Accessibility Features are designed to work together, so you’re never stuck with just one option.
Step-by-Step Setup for Each Nintendo Switch 2 Accessibility Feature
Now let’s walk through the setup for each tool. I’ll give you clear steps and a few practical tips. All settings are in System Settings > Accessibility.
1. Button Mapping and Controller Remapping
Go to Controller Settings > Button Mapping. You’ll see a virtual controller on screen. Tap any button and then press the physical button you want to assign it to. This is perfect if you struggle with certain grips or need a single-button jump setup. I’ve seen players map jump to a shoulder button for easier access. The Nintendo Switch 2 Accessibility Features let you save multiple profiles, so you can switch between layouts instantly.
2. Motion Controls and Gyro Sensitivity
Some games rely on gyro aiming, which can be tricky. In the Accessibility menu, look for Motion Controls. You can reduce sensitivity, turn it off completely, or set a dead zone. This helps players with tremors or motion sensitivity. I recommend starting with a low sensitivity and testing in a game’s training mode. You’ll find the right balance quickly.
3. Screen Reader and Audio Cues
The Screen Reader reads all on-screen text aloud. Enable it under Audio and Screen Reader. You can choose a voice speed and pitch. This is a game-changer for visually impaired players. The Nintendo Switch 2 Accessibility Features also include audio cues that beep when you move between menu items. These sounds act as a built-in guide, helping you navigate without looking at the screen.
4. Visual Adjustments: Color Correction and Magnification
Under Visual Aids, you’ll find color filters that help with color blindness. You can choose from several presets, like protanopia or deuteranopia. There’s also a magnification slider that zooms the screen up to 2x. This is a powerful visual aid for low vision. I suggest pairing this with high-contrast themes for the best effect. The adjustments apply system-wide, so you’ll see them in menus and games.
5. Closed Captions and Audio Descriptions
Hearing impaired players will love the Closed Captions option. You can customize the font size, color, and background opacity. Audio Descriptions narrate key visual events during cutscenes. Both tools live under the Audio section. The Nintendo Switch 2 Accessibility Features let you turn them on per game, so you can keep them off when you don’t need them. This level of control is rare and much appreciated.
6. Custom Touch Controls
For touchscreen games, you can resize and reposition virtual buttons. This is huge for players with limited dexterity. Go to Touch Controls and you’ll see a layout editor. Drag buttons to larger areas, increase their size, or add extra touch zones. The Nintendo Switch 2 Accessibility Features make the touchscreen feel like a custom controller. You can save your layout and load it whenever you play.
7. Single Joy-Con Flexibility and Assistive Touch
Using a single Joy-Con can be tricky, but the console offers a grip accessory and button remapping. In the Accessibility menu, you’ll find options to assign all functions to the single Joy-Con’s buttons. Assistive Touch adds a floating button that can perform complex combos with a single tap. This is a brilliant assistive technology for players who can’t hold a full controller. The setup is simple and makes solo play much more comfortable.
Pro Tips and Common Mistakes
Setting up accessibility features is straightforward, but a few tips can save you time.
- Test in a safe space: Always try new settings in a practice mode or a simple game first. This avoids frustration during intense moments.
- Save presets: The Nintendo Switch 2 lets you save up to three accessibility profiles. Label them clearly, like “Low Vision” or “One-Handed.”
- Update your firmware: Nintendo regularly adds new accessibility options. Keep your console updated to get the latest tools.
- Common mistake: Don’t turn off motion controls entirely if you only need a small adjustment. A slight sensitivity tweak often works better than a full off switch.
I also recommend visiting Nintendo’s official accessibility page for video tutorials. The Nintendo Switch 2 Accessibility Features are constantly evolving, and staying informed helps you get the most out of them.
Why These Tools Make Gaming Inclusive
The Nintendo Switch 2 Accessibility Features do more than just add options. They send a message: everyone belongs in the gaming world. When a player can use a single Joy-Con with custom touch buttons, they can enjoy the same games as their friends. When a screen reader reads the menu aloud, a visually impaired player can navigate independently. These tools break down walls that have kept gamers out for years.
Nintendo has always focused on play for all ages and abilities. The Switch 2 continues that tradition with thoughtful, well-designed accessibility tools. You don’t need to be an expert to set them up. A few minutes in the settings menu can transform your experience. I encourage you to explore each tool and find what works for you. The Nintendo Switch 2 Accessibility Features are there to help you play the way you want.
Frequently Asked Questions
How do I access the Nintendo Switch 2 Accessibility Features?
Go to System Settings and select Accessibility. From there, you’ll see all seven tools organized in a clear list. You can toggle each one on or off and adjust the settings to your preference.
Can I use multiple accessibility tools at the same time?
Absolutely. The Nintendo Switch 2 Accessibility Features are designed to work together. You can run the screen reader while using custom touch controls, for example.
Do I need any extra hardware to use these features?
Most tools work right out of the box with the console and Joy-Cons. The single Joy-Con grip accessory helps with the single Joy-Con flexibility feature, but it’s optional.
Are the accessibility settings saved automatically?
Yes, the console saves your preferences. You can also create up to three different profiles and switch between them instantly.
Will these features work with all Nintendo Switch 2 games?
The core settings like button mapping and visual adjustments apply system-wide. Some game-specific features, like audio descriptions, depend on the developer’s implementation, but most modern titles support them.
How often does Nintendo add new accessibility options?
Nintendo regularly updates the Accessibility menu with new tools and improvements. Keeping your console on the latest firmware ensures you get the newest features.