

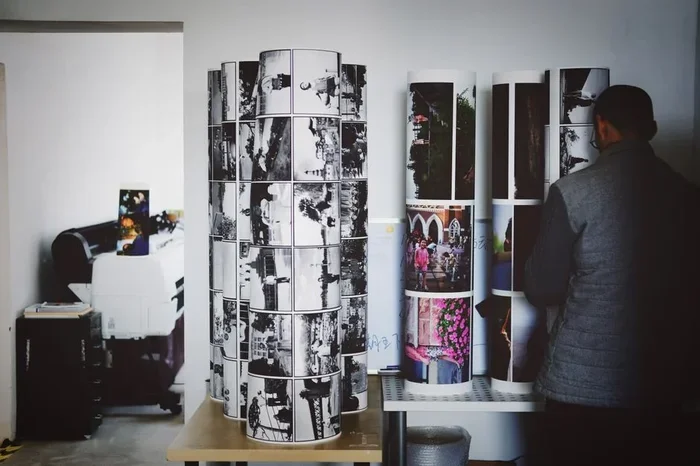
Printing a 25 by 25 inch photo is simpler than most people think. You need a high-resolution image, the right paper, and either a home printer or a professional printing service. This guide walks you through every step, from preparing your file to choosing the best finish. Follow our tips to avoid common mistakes and get print quality that looks amazing on your wall.
Want to print a 25 by 25 inch photo and not sure where to start? You are not alone. Many people love the idea of a large, eye-catching photo print but feel confused by the process. The good news is that printing a 25 by 25 inch photo is easier than you think. With the right preparation and a few simple steps, you can turn any image into a stunning wall-sized print.
Whether you want to hang it in your living room or give it as a gift, this guide covers everything you need. We will walk you through image preparation, printing methods, paper choices, and common mistakes. By the end, you will feel confident and ready to print your own large photo.
Key Takeaways
- Start with a high-resolution image: Your photo needs at least 7500 by 7500 pixels for a sharp 25 by 25 inch print.
- Choose the right paper finish: Matte, glossy, luster, and canvas each create a different look and feel for your print.
- Pick a printing method that fits your needs: Home printing, online services, or local shops all have unique benefits.
- Watch out for common mistakes: Low resolution, wrong color profiles, and forgetting bleed are the top errors to avoid.
- Professional printing delivers better color accuracy: Commercial printers produce noticeably richer results than home devices.
- Order a test print when possible: This saves time and ensures your final product looks exactly how you want it.
📑 Table of Contents
Understanding What a 25 by 25 Inch Photo Means
Before you start, it helps to understand what a 25 by 25 inch photo actually means in terms of size and quality. A square print of this dimension is quite large and makes a bold statement on any wall. Knowing the technical requirements will save you time and frustration later on.
Resolution and Pixel Requirements
To get a sharp print, your image needs enough pixels. For a 25 by 25 inch photo at 300 DPI, you need an image that is at least 7500 by 7500 pixels. This ensures the print looks crisp and detailed. If your image has fewer pixels, it may appear blurry or pixelated when enlarged. Always check your photo resolution before sending anything to print.
Quick Tip: Use a free online tool to check your image resolution before sending it to print. This saves time and avoids disappointment.
Aspect Ratio and Cropping
A 25 by 25 inch print has a 1:1 aspect ratio. This means your source image must also be square. If your photo is rectangular, you will need to crop it. Always crop carefully to keep the most important parts of the image intact. A well-planned crop preserves the composition and keeps your print looking professional.
How to Prepare Your Image for a 25 by 25 Inch Print
Preparing your image correctly is the most important step. A poorly prepared file will result in a low-quality print no matter how good your printer is. Taking a few extra minutes here makes a huge difference in the final result.
Check Your File Format
Save your image as a JPEG or PNG file. These formats are widely accepted by printing services. TIFF files also work well for professional prints but tend to be larger in size. The right file format ensures your image data stays intact during the printing process.
Adjust Color Settings
Make sure your image is in the sRGB color profile. This is the standard for most printers and screens. Adjusting brightness and contrast slightly can also improve the final print result. Good color accuracy starts with proper settings on your computer before you even hit print.
Quick Tip: Always work with a copy of your original file. This way, you never risk losing the high-resolution source image during editing.
Choosing the Right Printing Method
You have several options when it comes to printing a 25 by 25 inch photo. Each method has its own advantages depending on your budget and needs.
Home Printing
If you own a large-format inkjet printer, you can print at home. This gives you full control over the process. However, home printers capable of this size can be expensive. You also need to buy large sheets of photo paper. Home printing works best if you print large photos regularly and already own the right equipment.
Professional Printing Services
Most people choose to use a professional printing service. Online services like Shutterfly, Snapfish, and mpix can handle large orders easily. You simply upload your file, choose your options, and wait for delivery. Professional printing uses commercial-grade equipment that produces far better color accuracy than home printers. For a 25 by 25 inch photo, this difference is very noticeable.
Expert Insight: Professional printers use large-format printing technology that delivers richer colors and finer detail. If print quality matters to you, this is the best route.
Local Print Shops
Visiting a local print shop lets you see physical samples before committing. You can also ask staff for advice on paper type and finish. This personal touch is something online services cannot offer. Local shops are also great if you need the print quickly.
Best Paper and Finish Options for Large Photos
The paper you choose plays a huge role in how your 25 by 25 inch photo looks. Here are the most popular options to consider.
| Paper Type | Finish | Best For |
|---|---|---|
| Glossy | Shiny | Vibrant colors, outdoor photos |
| Matte | Flat, no glare | Gallery walls, studio portraits |
| Luster | Semi-glossy | Wedding photos, landscapes |
| Canvas | Textured | Artistic prints, home decor |
Glossy paper makes colors pop and gives a shiny look. Matte paper avoids glare and feels elegant. Luster is a popular middle ground that many photographers prefer. Canvas prints add an artistic, textured feel that works well for wall art and home decor.
Quick Tip: If your photo will hang in a bright room with lots of light, choose matte or luster paper. Glossy paper can reflect light and make the image hard to see from certain angles.
Common Mistakes to Avoid When Printing Large Photos
Even experienced people make mistakes when printing large photos. Here are the most common ones to watch out for.
- Using a low-resolution image: This is the number one mistake. Always check that your file has enough pixels for the print size you want.
- Ignoring color profiles: Colors can look different on screen and on paper. Always convert to sRGB before sending your file to print.
- Forgetting to add bleed: If you want edge-to-edge printing, your file needs extra space around the edges called bleed.
- Choosing the wrong paper: Not all paper suits every photo. Match the paper finish to the style and purpose of your image.
- Not ordering a test print: If possible, print a small test copy first to check colors and overall quality before committing to the full size.
Where to Get a 25 by 25 Inch Photo Printed
Finding a reliable place to print your large photo is simpler than ever. Here are the best options available today.
Online Printing Services: Websites like Costco Photo Center, Walgreens, and mpix offer affordable large-format printing. You upload your file online and receive your print by mail. Many of these services offer discounts for first-time customers, which makes them a budget-friendly choice.
Local Retail Stores: Big box stores like Walmart and Target have photo printing kiosks. These are convenient and often surprisingly affordable for a 25 by 25 inch photo. You can also pick up your print the same day in many cases.
Specialized Printing Companies: Companies that specialize in large format printing offer the highest quality. They use professional printers and premium materials. This option is best for photos you want to frame and display prominently in your home or office.
Final Thoughts
Printing a 25 by 25 inch photo is a rewarding experience. The key is to start with a high-resolution image, choose the right paper, and pick a printing method that fits your needs and budget. Whether you print at home or use a professional service, the result can be truly breathtaking.
Take your time with the preparation steps. A little extra effort in the beginning leads to a much better final product. Now that you know how to print a 25 by 25 inch photo, it is time to bring your favorite memories to life in a big, beautiful format.
Frequently Asked Questions
What resolution do I need for a 25 by 25 inch photo?
You need an image that is at least 7500 by 7500 pixels for a sharp print at 300 DPI. This is the standard for high-quality photo printing. If your image has fewer pixels, the print may look blurry or pixelated when enlarged to this size.
Can I print a 25 by 25 inch photo at home?
Yes, if you own a large-format inkjet printer that supports 25 inch paper. However, these printers can be expensive and require specialized photo paper. For most people, using a professional printing service is more practical and cost-effective for this print size.
Which paper finish is best for a 25 by 25 inch photo?
It depends on where you plan to display the photo. Glossy paper works well for vibrant outdoor shots. Matte paper is ideal for gallery walls because it does not reflect light. Luster is a popular choice for wedding photos, and canvas adds a textured artistic look for home decor.
How much does it cost to print a 25 by 25 inch photo?
Prices vary depending on the printing service and paper type. Online services typically charge between 10 and 30 dollars for a print this size. Local shops and specialized printing companies may cost a bit more but often provide higher quality and faster turnaround.
Do I need to add bleed when printing a 25 by 25 inch photo?
Yes, if you want edge-to-edge printing with no white borders, you need to add bleed to your file. Most printers recommend adding about 0.125 inches of bleed on each side. This ensures the image extends all the way to the edge of the paper after trimming.
Can I print a rectangular photo as a 25 by 25 inch square?
You can, but you will need to crop the image to a square format first. A 25 by 25 inch print has a 1:1 aspect ratio. Always crop carefully to keep the most important parts of your photo visible and avoid cutting out key subjects.