

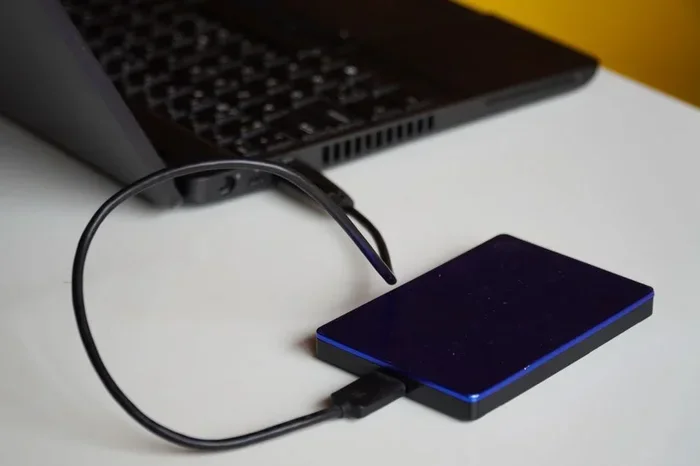
Running The Sims 3 from an external hard drive is a great way to free up space and take your game on the go. With the right setup, you can enjoy your favorite Sims sessions on any computer without reinstalling. This guide walks you through every step, from choosing the right drive to optimizing performance and fixing common issues.
Have you ever wanted to play The Sims 3 on a laptop or a friend’s computer but didn’t have enough space? Running the game from an external hard drive solves that problem perfectly. It lets you carry your entire game with you and play it on any machine that supports USB connections.
How can I run the Sims 3 from an external hard drive? The good news is that it is simpler than most people think. You just need the right external storage device, a few minutes of setup time, and this guide to walk you through it. Let’s get started.
Key Takeaways
- Portability: You can play Sims 3 on any PC by keeping game files on an external drive.
- Space Savings: Moving the game frees up valuable internal storage on your main computer.
- Right Drive Matters: USB 3.0 or SSD external drives offer the best performance for gaming.
- Simple Setup: The process involves moving files, creating shortcuts, and adjusting launch settings.
- Performance Tips: Keeping your drive connected to a fast USB port prevents lag and loading delays.
- Backup Safety: Regularly back up save files to avoid losing progress.
📑 Table of Contents
Why Run Sims 3 from an External Hard Drive?
There are several great reasons to move your Sims 3 game to an external drive. Many players find that their internal hard drive fills up quickly, especially with expansion packs and custom content. An external drive gives you the freedom to keep all those files somewhere else.
Benefits of Portable Gaming
When you store your game on an external drive, you can plug it into any Windows computer and play right away. This is perfect for gamers who travel or want to play at a friend’s house. You don’t need to carry a bulky laptop. Just connect the drive and launch the game.
Freeing Up Internal Storage
The Sims 3 base game takes up about 15 GB of space. Add expansion packs, stuff packs, custom content, and mods, and you could be looking at 40 GB or more. Moving these files to an external drive frees up precious space on your main computer’s internal storage. This can make your PC run faster overall.
What You Need Before You Start
Before you begin the setup process, make sure you have everything ready. Having the right equipment makes the whole process smoother and faster.
Choosing the Right External Drive
Not all external drives are the same. For the best Sims 3 performance, look for these features:
- USB 3.0 or USB 3.1 connection: This ensures fast data transfer speeds.
- SSD over HDD: Solid-state drives load games much faster than traditional hard drives.
- At least 50 GB of free space: This gives you room for the base game, expansions, and custom content.
- Reliable brand: Choose a trusted brand like Western Digital, Seagate, or Samsung for durability.
If you are on a budget, a standard USB 3.0 HDD works fine. But if you want smoother gameplay and shorter loading screens, an external SSD is the way to go.
Step-by-Step Guide to Setting Up Sims 3 on an External Drive
Now that you have the right drive, here is how to actually move and run the game. Follow these steps carefully for the best results.
Step 1: Install the Game on the External Drive
The easiest method is to install the game directly onto the external drive from the start. When the Origin launcher asks where you want to install, choose your external drive as the destination folder. This way, all game files go straight to the external storage.
Step 2: Move an Existing Installation
If you already have Sims 3 installed on your PC, you can move it instead. Here is how:
- Close Origin and the game completely.
- Copy the entire Sims 3 folder from your internal drive to the external drive.
- On the external drive, locate the Sims 3 launcher executable file.
- Right-click it and select “Run as Administrator” to test if it launches.
Step 3: Create a Desktop Shortcut
After moving the files, create a shortcut on your desktop for easy access. Right-click the launcher file on the external drive, choose “Send to,” and then “Desktop.” This way, you can launch the game with just one click, even when the drive is connected.
Step 4: Adjust Origin Settings
Open Origin and go to Application Settings. Make sure Origin recognizes the new game location. If the game shows up in your library, you should be able to launch it directly from the external drive without issues.
Optimizing Game Performance on an External Drive
Running Sims 3 from an external drive works well, but you can take extra steps to make it even better. Performance depends heavily on the type of drive and connection you use.
Speed Considerations
USB 2.0 connections are too slow for gaming. Always use a USB 3.0 or newer port. If your computer only has USB 2.0 ports, consider getting a USB 3.0 adapter. The speed difference is huge when it comes to loading neighborhoods and lots.
An external SSD will give you load times close to an internal drive. A standard external HDD will work but may have slightly longer loading screens. For most players, either option is perfectly fine.
Keeping Your Drive Cool
External drives can heat up during long gaming sessions. Place the drive on a flat, hard surface rather than fabric or carpet. Good airflow helps prevent slowdowns caused by overheating.
Common Issues and How to Fix Them
Even with a proper setup, you might run into a few hiccups. Here are the most common problems and their solutions.
Game Won’t Launch
If the game fails to start, make sure the external drive is connected properly. Try a different USB port. Also, run the launcher as an administrator by right-clicking the file and selecting that option.
Slow Loading Times
This usually happens when using a USB 2.0 connection or an older HDD. Switch to a USB 3.0 port or upgrade to an external SSD. You can also reduce custom content to improve loading speed.
Save File Errors
Sometimes save files get corrupted when moving between computers. Always safely eject the drive before unplugging it. Keep backup copies of your saves on your internal drive or in cloud storage.
Tips for Keeping Your Game Safe
Your external drive holds hours of gameplay progress. Protecting it should be a priority. Always safely eject the drive using the system tray icon before pulling the cable out. This prevents file corruption. Consider keeping a backup copy of your save files in a cloud service like OneDrive or Google Drive. This way, even if the drive fails, you never lose your Sims families.
Also, scan your external drive regularly for errors. Windows has a built-in tool for this. Simply right-click the drive in File Explorer, select Properties, and click Check under the Tools tab.
Final Thoughts
Running The Sims 3 from an external hard drive is one of the best ways to enjoy portable gaming without sacrificing performance. Whether you want to save space on your PC or play on different computers, this setup gives you flexibility and convenience. Follow the steps in this guide, choose the right drive, and you will be building virtual worlds in no time. The process is straightforward, and once it is set up, you will wonder why you didn’t do it sooner.
Frequently Asked Questions
Can I run Sims 3 from a USB flash drive instead of an external hard drive?
Yes, you can, but a USB flash drive usually has slower read and write speeds compared to an external hard drive or SSD. This may result in longer loading times. A USB 3.0 flash drive with at least 32 GB of storage works in a pinch, but an external drive is a better long-term choice for smooth gameplay.
Will my custom content and mods work on an external drive?
Absolutely. All your custom content, mods, and downloaded content stay with the game files on the external drive. As long as you move the entire Sims 3 folder over, everything should work exactly as it did before. Just make sure to test your mods after the move to confirm they are functioning properly.
Do I need to reinstall Origin on the external drive too?
No. You only need to keep the Sims 3 game files on the external drive. Origin itself should stay installed on your internal drive. When you connect the external drive and open Origin, the game should appear in your library and launch from the external location.
Can I play Sims 3 from an external drive on a Mac?
The Sims 3 is primarily designed for Windows PCs. While you can run it on a Mac using Boot Camp or virtualization software, the external drive setup works best on Windows. If you use Boot Camp, you can install the game on the external drive the same way you would on a Windows PC.
What happens if my external drive gets disconnected while the game is running?
The game will likely crash or freeze if the drive disconnects during play. Always make sure the cable is secure and the drive is stable before launching the game. If this happens frequently, try a different USB cable or a powered USB hub to maintain a steady connection.
Is it safe to move my Sims 3 save files to an external drive?
Yes, it is safe as long as you handle the drive properly. Always eject the drive safely before unplugging it. Keep backup copies of your saves in a separate location like cloud storage. This ensures your progress is protected even if the external drive fails or gets damaged.
=== CONCLUSION ===
Running The Sims 3 from an external hard drive is a simple, effective way to game on the go. With the right drive, a bit of patience during setup, and a few performance tips, you can enjoy your favorite Sims adventures anywhere. Follow the steps outlined in this guide, protect your save files, and you will have a portable gaming setup that works like a charm.